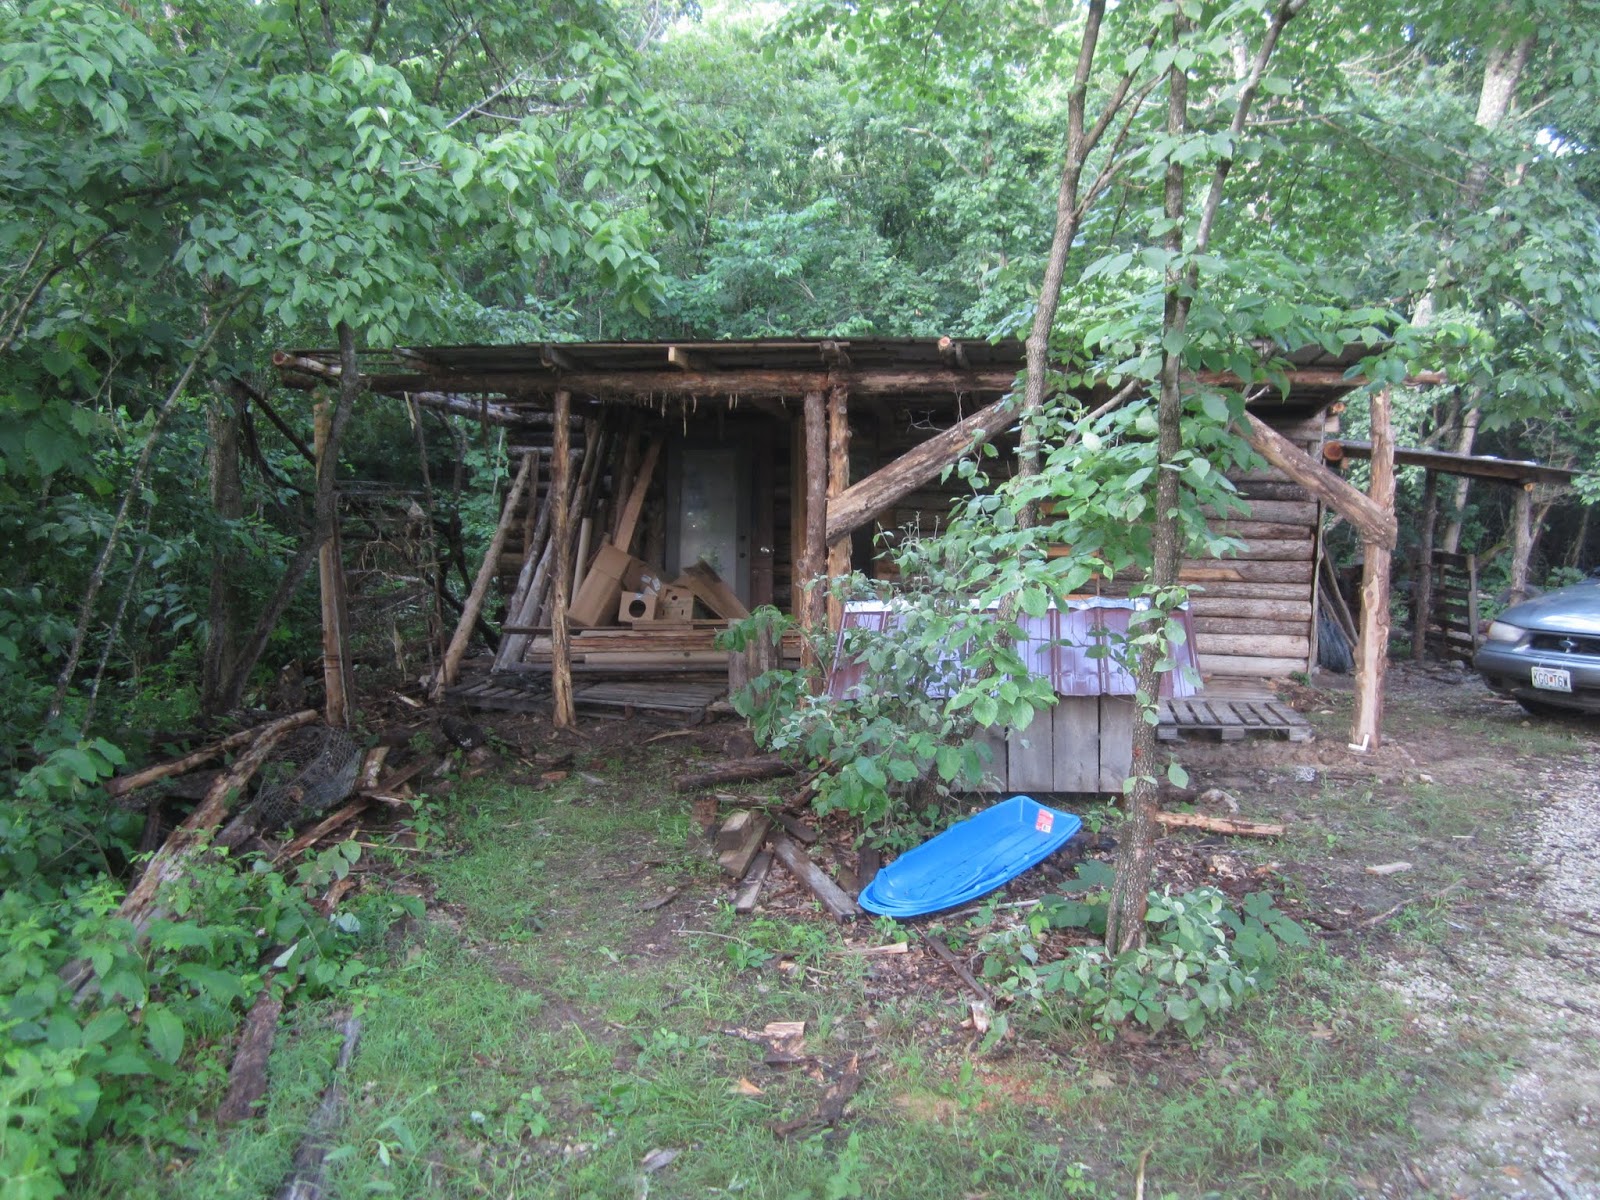
Well I decided it was time to do that last project of extending
a porch on our rustic log shed so that we can clean out the
lumber from around the house porches.
This is so we can begin the first layer of plaster.
Again I love the building projects though it is backbreaking
work when you are building from your own timber.
However the porches only need small cedar logs that are
relatively easy to handle by man power. One of the reasons
I love building is that it is very rewarding after clearing.
Clearing leaves scattered logs that I hate to waste.
Building cleans up the mess and it is practically free.
We also had to tear down a shed from another spot
and I re-used the metal roofing and sides on the porch.
I can not emphasize enough the need for shelter space
when building, so porches are a real asset....especially
these type that cost next to nothing. Building this way
means saving what regular builders bulldoze and burn,
so I store small timber posts and beams in these dry
sheltered porches. Also to build creatively using some
neat types of logs with organic curves etc...means again
extra storage space. Keep in mind this land had nothing
on it but woods and an old tiny house ruin when we first
started. So the first projects were building very quick shed
structures to store logs etc in. As I have progress the
need has grown for more sheltered space.
 |
| Here is the shed without the front porch. |
 |
| This is the shed we tore down and transported |
 |
| I set the posts on raised concrete bases. Here I am using some left over cedar poles for diagonal stabilizers. This also makes a handy place to rest the heavy beams as we raise them bit by bit. |
 |
| First beam up. I like to choose one with a slight arch to take the downward stress. |
 |
| In the foreground is the shed roof intact that we tore off the old shed from another place. |
 |
| It was a job for my boy and myself to get up. |
 |
| We used posts underneath to prop it in stages. |
 |
| Then we manhandled it up and put the beam back in place. It was removed so we could swing the roof up |
 |
| About done. I only need to buy 1 12 foot sheet of metal for the last panel. |
Our next post should feature our first plaster render approach. We are looking at using a compressor and gun with hopper to spit the slip layer onto the bales. My wife got burned out on the hand application method of the first layer because it involves massaging the clay into the bale... a slow process for a small work force.
 |
| Here are some samples of the slip layer tests we did. |


