Dense pack cellulose

Straw Bale & Alternative Economy Building by the Dunne Family
Thursday, December 18, 2014
Monday, October 27, 2014
Busy Busy
Since I am sooooo busy....below is a link to albums of the latest progress! Working on dense pack cellulose recently for the ceiling and installing the vent for a wood cook stove. Finished the first layer of plaster/render on the outer walls. Will do the rest after last Spring frost, God willing. Laid down the first layer for earthen floor.

Click Here to Visit Latest Albums!
Click Here to Visit Latest Albums!
Tuesday, September 23, 2014
Begin Earthen Floor
We started out with a stiff mix....sand/lime/clay/sawdust/water. Was too sticky and stiff. Hard to work. Adding water helped.
Then we tried a wetter mix later that also had a higher sand ratio, plus the addition of straw...Worked much better...not as sticky and the straw smoothed right in like it was not there when worked with a float. I applied it shovel by shovel.......dropping each load with force so that it spread like a cow patty, which eliminated having to thin it to the desired level first. We are spreading it about an inch thick...give or take. The flat shovel worked really well as the first spreader...using the back of the shovel to smooth. Then my wife and older boy finished it with a wooden float and then a steel float. It is unlike cement in that it has much more body so adding it bit by bit seems to work much easier than squashing down a big load that sits too high. It acts more like a stiffer mortar than poured cement.

Monica's Note:
When coming up with a recipe with for clay plaster or for an earthen floor, the two things to consider are final product ~ does it work? and ease of application ~ is it pleasant to work with? Generally, the mix that is hard to work with will not produce a good final product.
So, we've found a mix that is easy to work with. We will have to wait and see if it cracks, etc... although in this case we aren't too worried about cracking, because it's easy enough to repair on an earthen floor. (Also, don't forget to wet down the subfloor with a garden hose before adding the earthen layer, to get a good bond between the two layers.)
Here's the recipe we are currently using. Everything is measured by 1 gallon bucket and makes a good amount for the mortar mixer we are using. Our mix is higher in lime than a standard earthen floor, because we happen to have 5 big barrels of lime putty sitting around, so we're putting them to good use.
20 sand
3 lime putty (type s)
3 water
3 chopped straw (approx 3" long, leftover from trimming the straw bales)
1 clay putty (same consistency as the lime putty)
1 sawdust
*Added Note: This mix had too little lime. It does not hold up to wear. We will add a second layer with more lime later.


Tuesday, September 2, 2014
Applying clay to difficult angles!
Unless the Lord build the house....
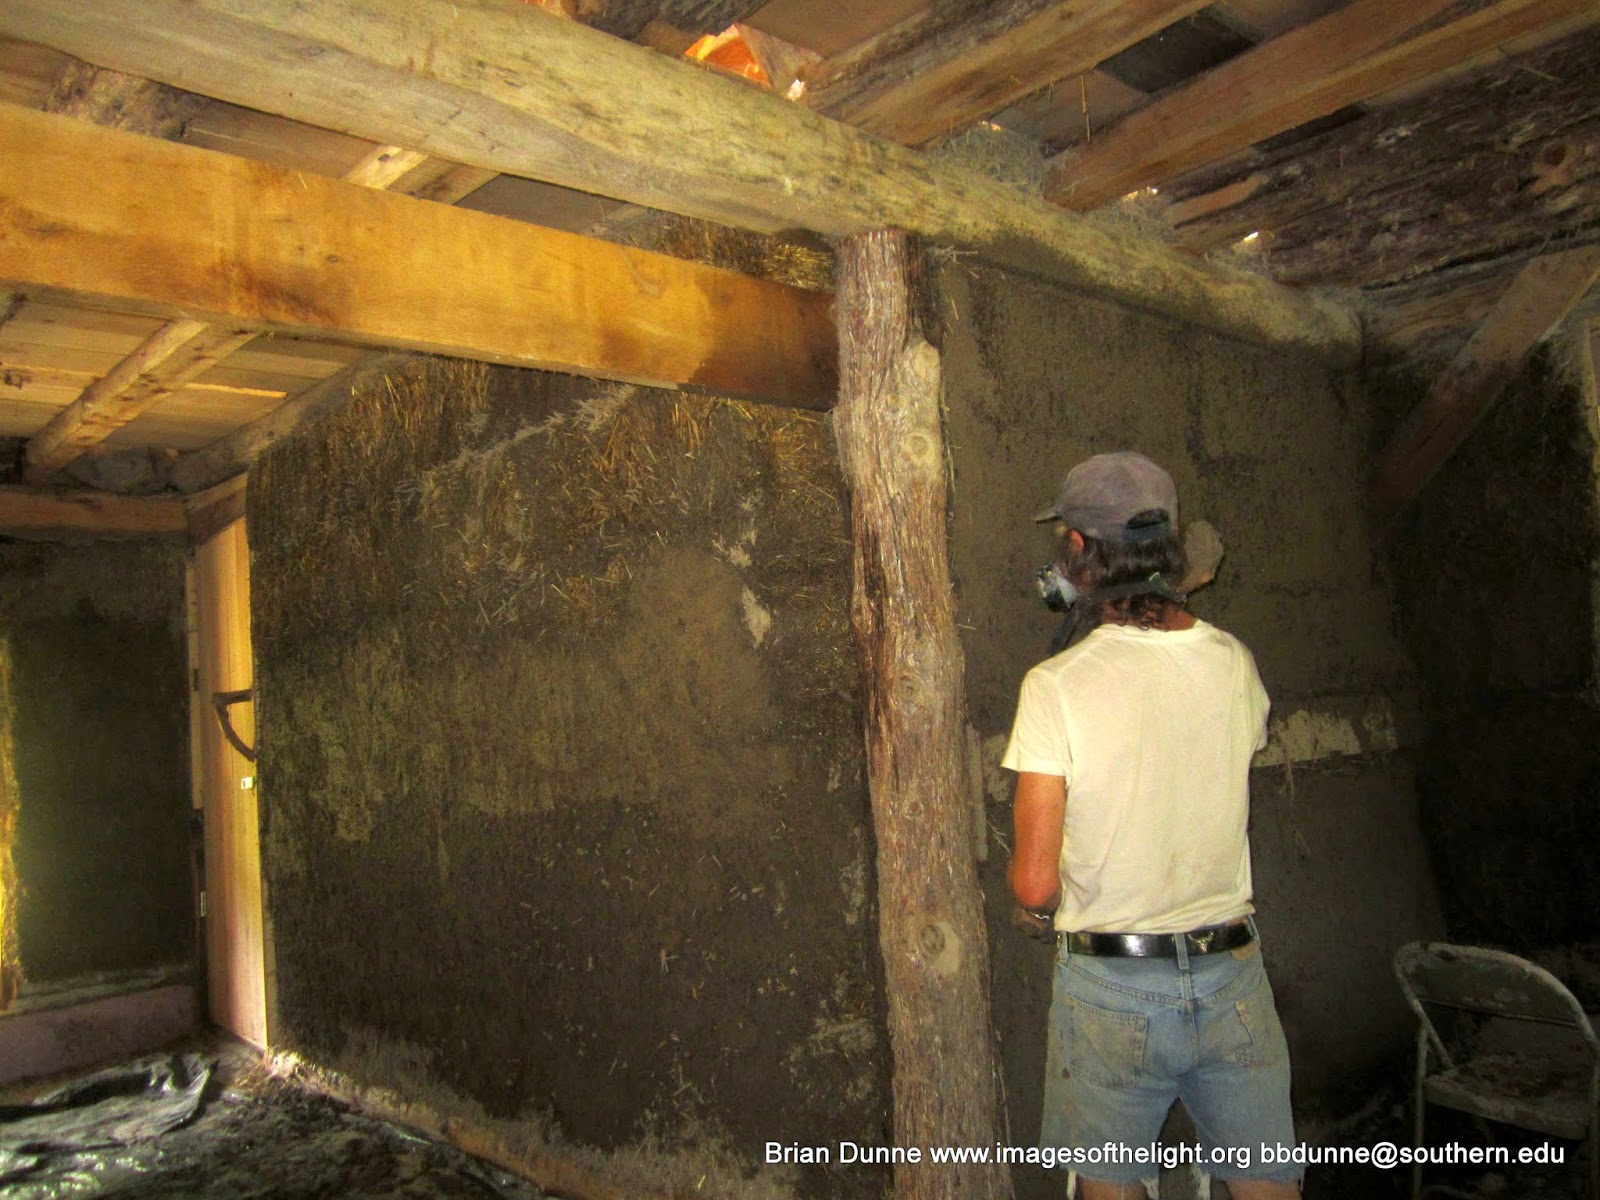
Adding clay plaster to difficult angles.
Thursday, August 28, 2014
Drying Mud!
Unless the Lord build the house.....


Drying Mud!
 |
| Window put in after the fact. Added light clay straw into cavity where post sits after bales were cut out. |
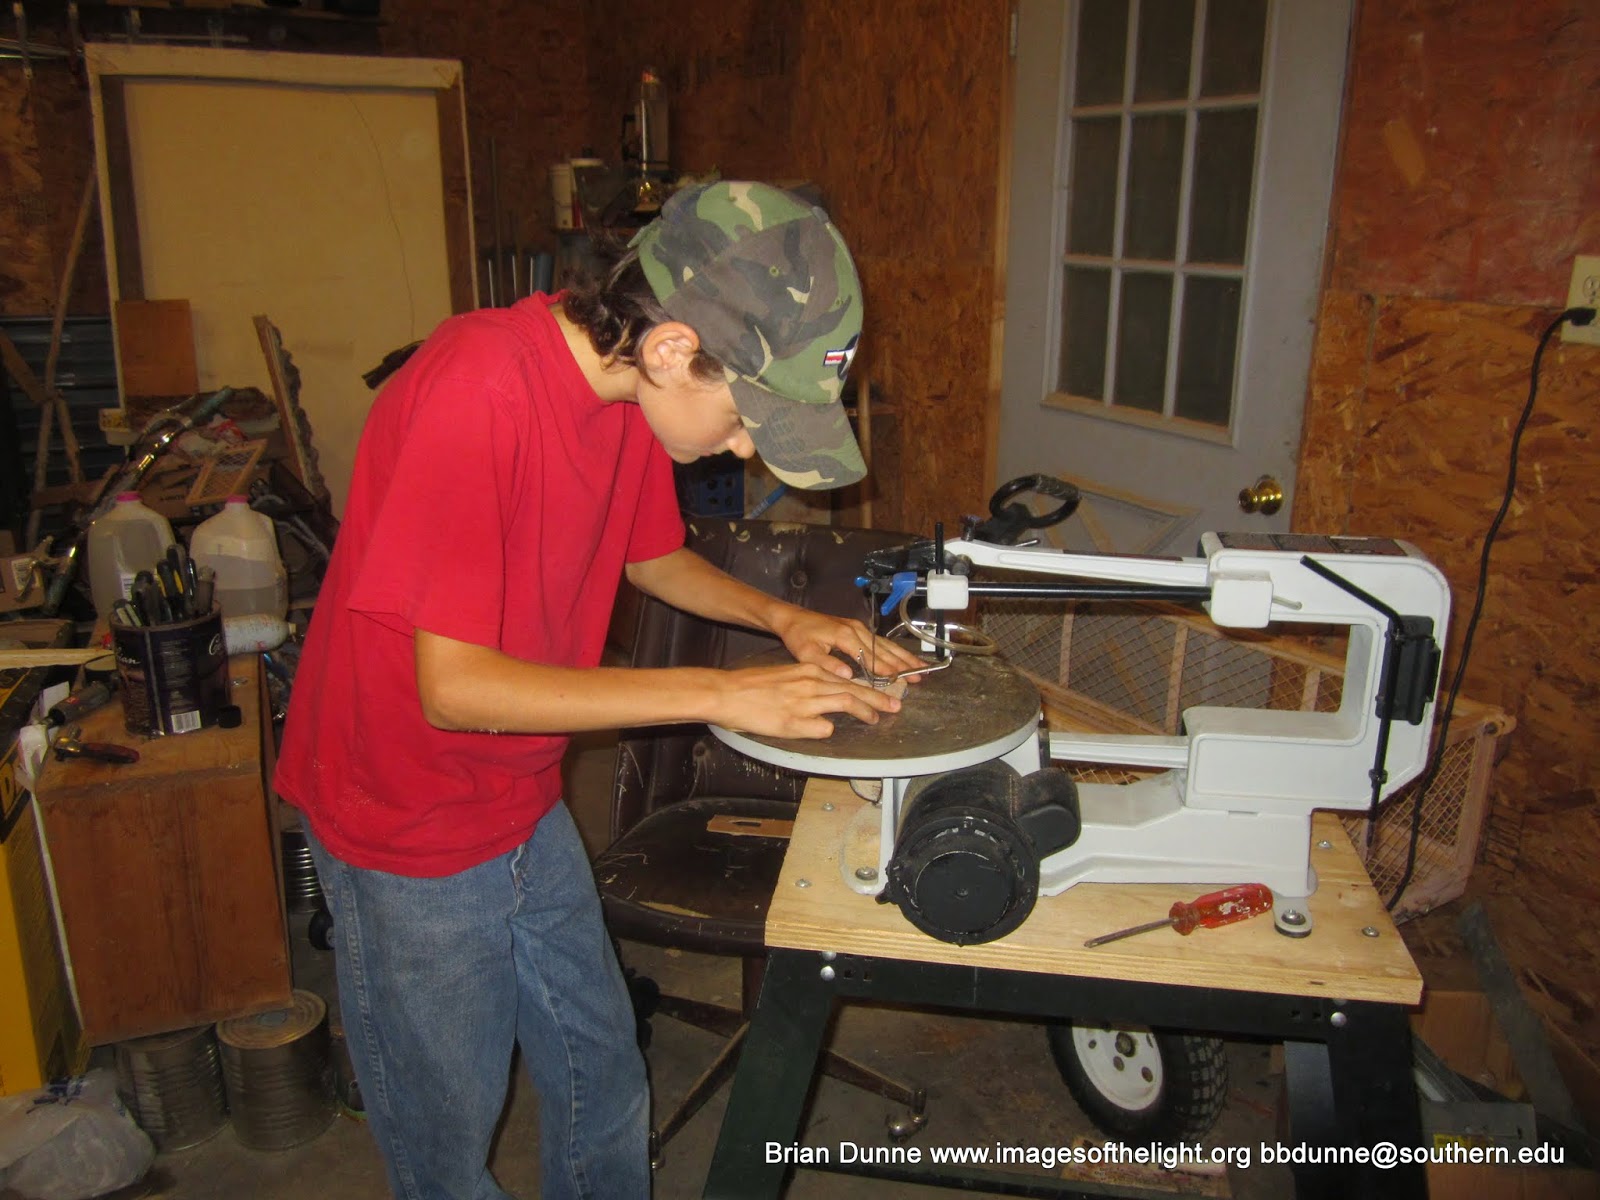 |
| Ciaran's new toy....scroll saw. |
Saturday, August 23, 2014


Sunday, August 17, 2014

Wednesday, July 30, 2014
A use for old jars in a cob fill and other ideas.
Unless the Lord build the house...

Fun with filling holes
 |
| I had to fill this strange gap between posts and here is how I did it. I made a mix of clay, sand and cut straw and then laid jars like brick. There will be a window that open above it (where the board is nailed over the opening). |
 |
| Light clay straw to plug holes over door. Not big enough for a bale! |
 |
| A 3 inch pipe and some jars make a need little day light bulb in my office wall. Add colors for fun. The hole above has an outdoor solar light thingy..it lights up in the dark and charges from the outside.. I call it "poor man solar". |
 |
| Here is my champion light clay straw mixer and cook...my daughter Emmi! |
Wednesday, July 23, 2014
Getting ready for mud!
Unless The Lord Build The House.....
Getting ready for clay slip layer. Adding clay-sand plaster outside is known as render...inside it is called plaster?????? Whatever! We are about ready.


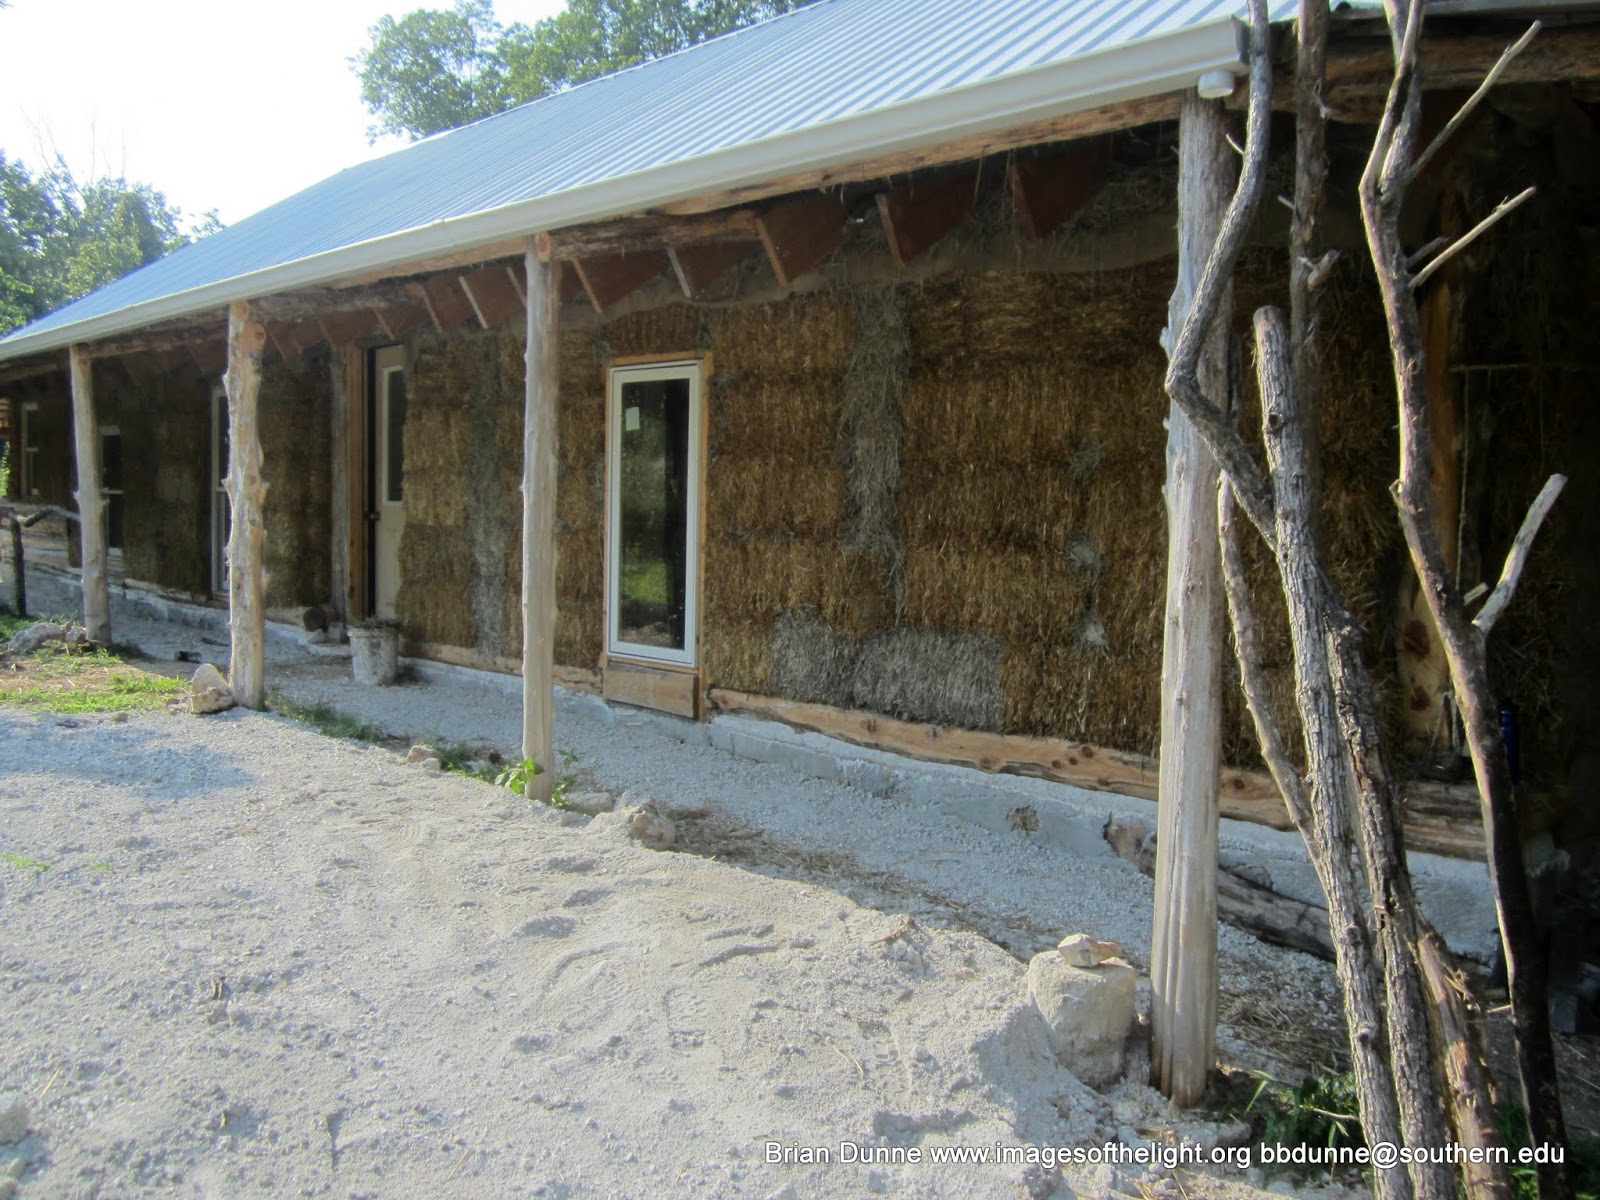

Getting ready for clay slip layer. Adding clay-sand plaster outside is known as render...inside it is called plaster?????? Whatever! We are about ready.
Tuesday, July 22, 2014
Using light clay straw on a vertical fill.
Unless the Lord build the house.....


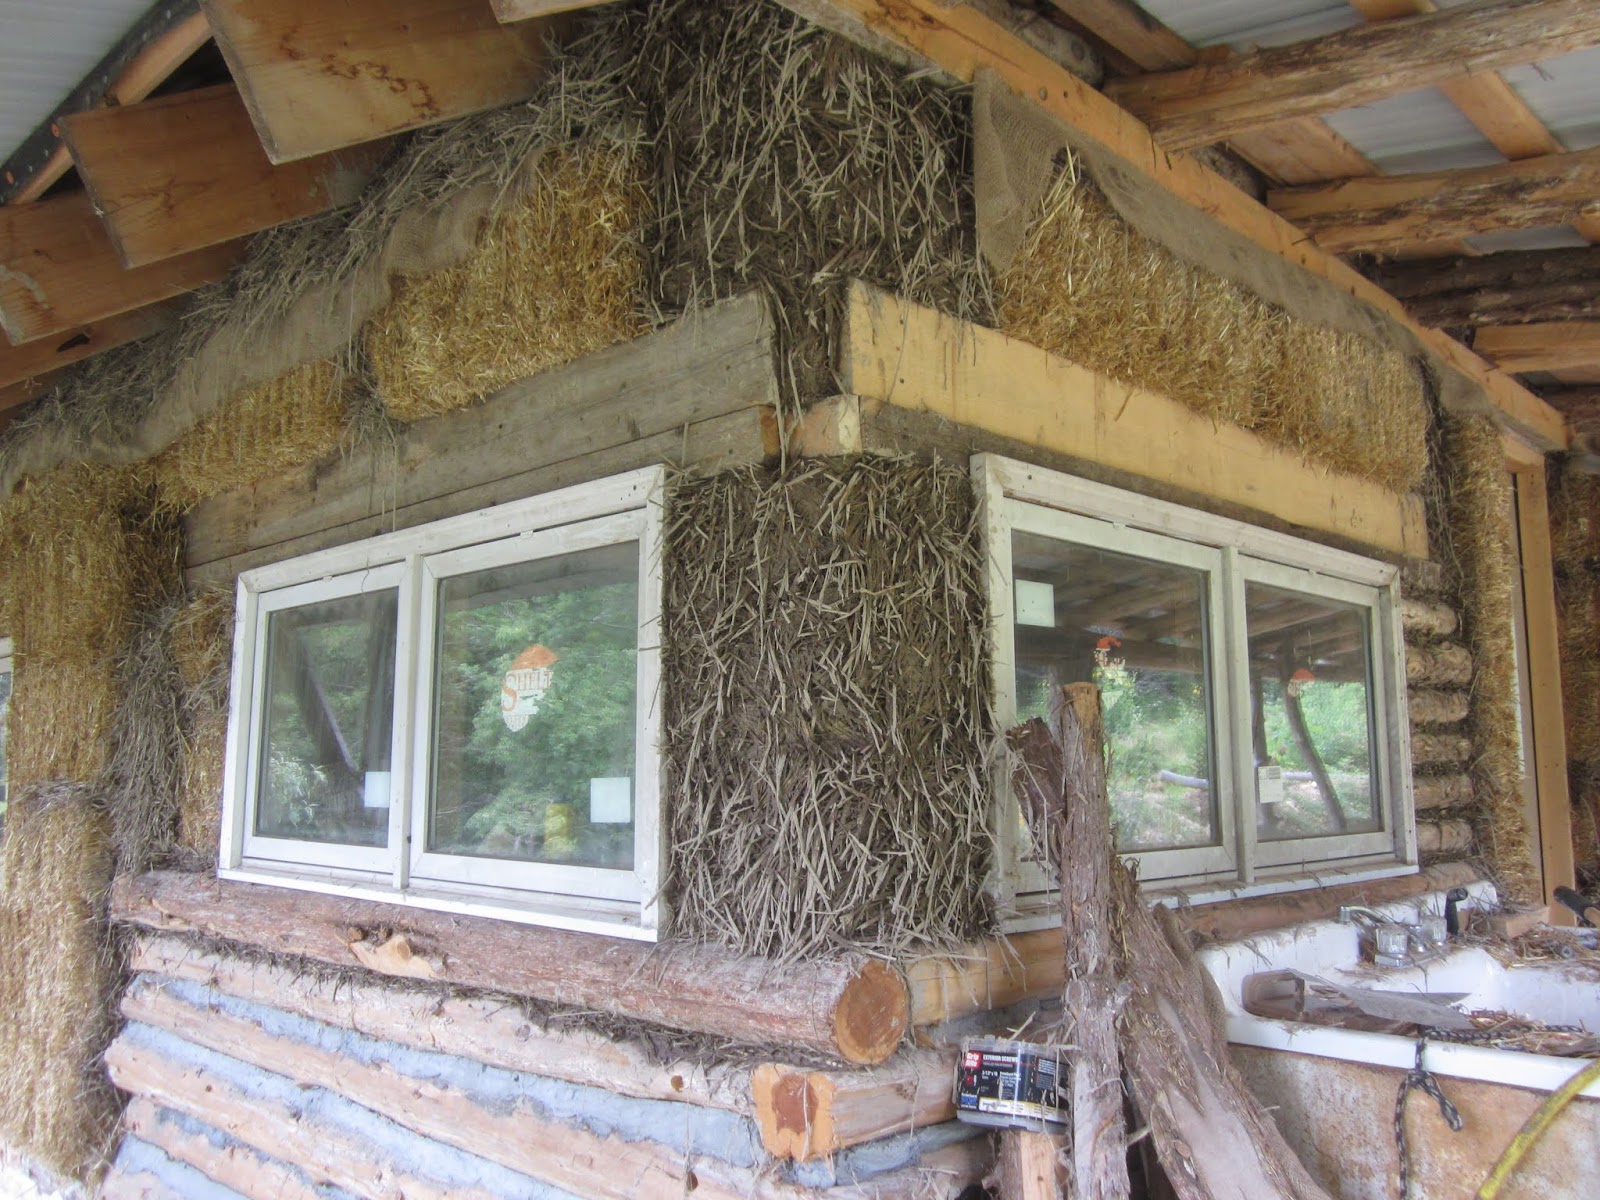
Adding light clay straw to fill in holes
before we add the overall layer of clay.
 |
| Adding light clay straw to cover a post. Light clay straw is just straw mixed with clay I made this mix with more clay so that it would have more molding ability. I formed it into cylinder shaped, or log shaped lengths first, and then built the lengths in a stacking fashion. Note the burlap covering the post and window edges. This will allow for the wood to shrink without disturbing the clay. However I think the light clay straw would do okay even without it. It retains a certain flexible tolerance because of all the straw in it. |
 |
| You can see the stacking pattern if you look closely. |
 |
| We used the same light clay straw mix between the rafters. |
Thursday, July 3, 2014
Weed-eating around the house again....strawbale style!
Unless the Lord build the house......
Weed-eating around the house again....strawbale style!
Weed-eating around the house again....strawbale style!
Sunday, June 22, 2014
Unless the Lord build the house......


Our next post should feature our first plaster render approach. We are looking at using a compressor and gun with hopper to spit the slip layer onto the bales. My wife got burned out on the hand application method of the first layer because it involves massaging the clay into the bale... a slow process for a small work force.
Well I decided it was time to do that last project of extending
a porch on our rustic log shed so that we can clean out the
lumber from around the house porches.
This is so we can begin the first layer of plaster.
Again I love the building projects though it is backbreaking
work when you are building from your own timber.
However the porches only need small cedar logs that are
relatively easy to handle by man power. One of the reasons
I love building is that it is very rewarding after clearing.
Clearing leaves scattered logs that I hate to waste.
Building cleans up the mess and it is practically free.
We also had to tear down a shed from another spot
and I re-used the metal roofing and sides on the porch.
I can not emphasize enough the need for shelter space
when building, so porches are a real asset....especially
these type that cost next to nothing. Building this way
means saving what regular builders bulldoze and burn,
so I store small timber posts and beams in these dry
sheltered porches. Also to build creatively using some
neat types of logs with organic curves etc...means again
extra storage space. Keep in mind this land had nothing
on it but woods and an old tiny house ruin when we first
started. So the first projects were building very quick shed
structures to store logs etc in. As I have progress the
need has grown for more sheltered space.
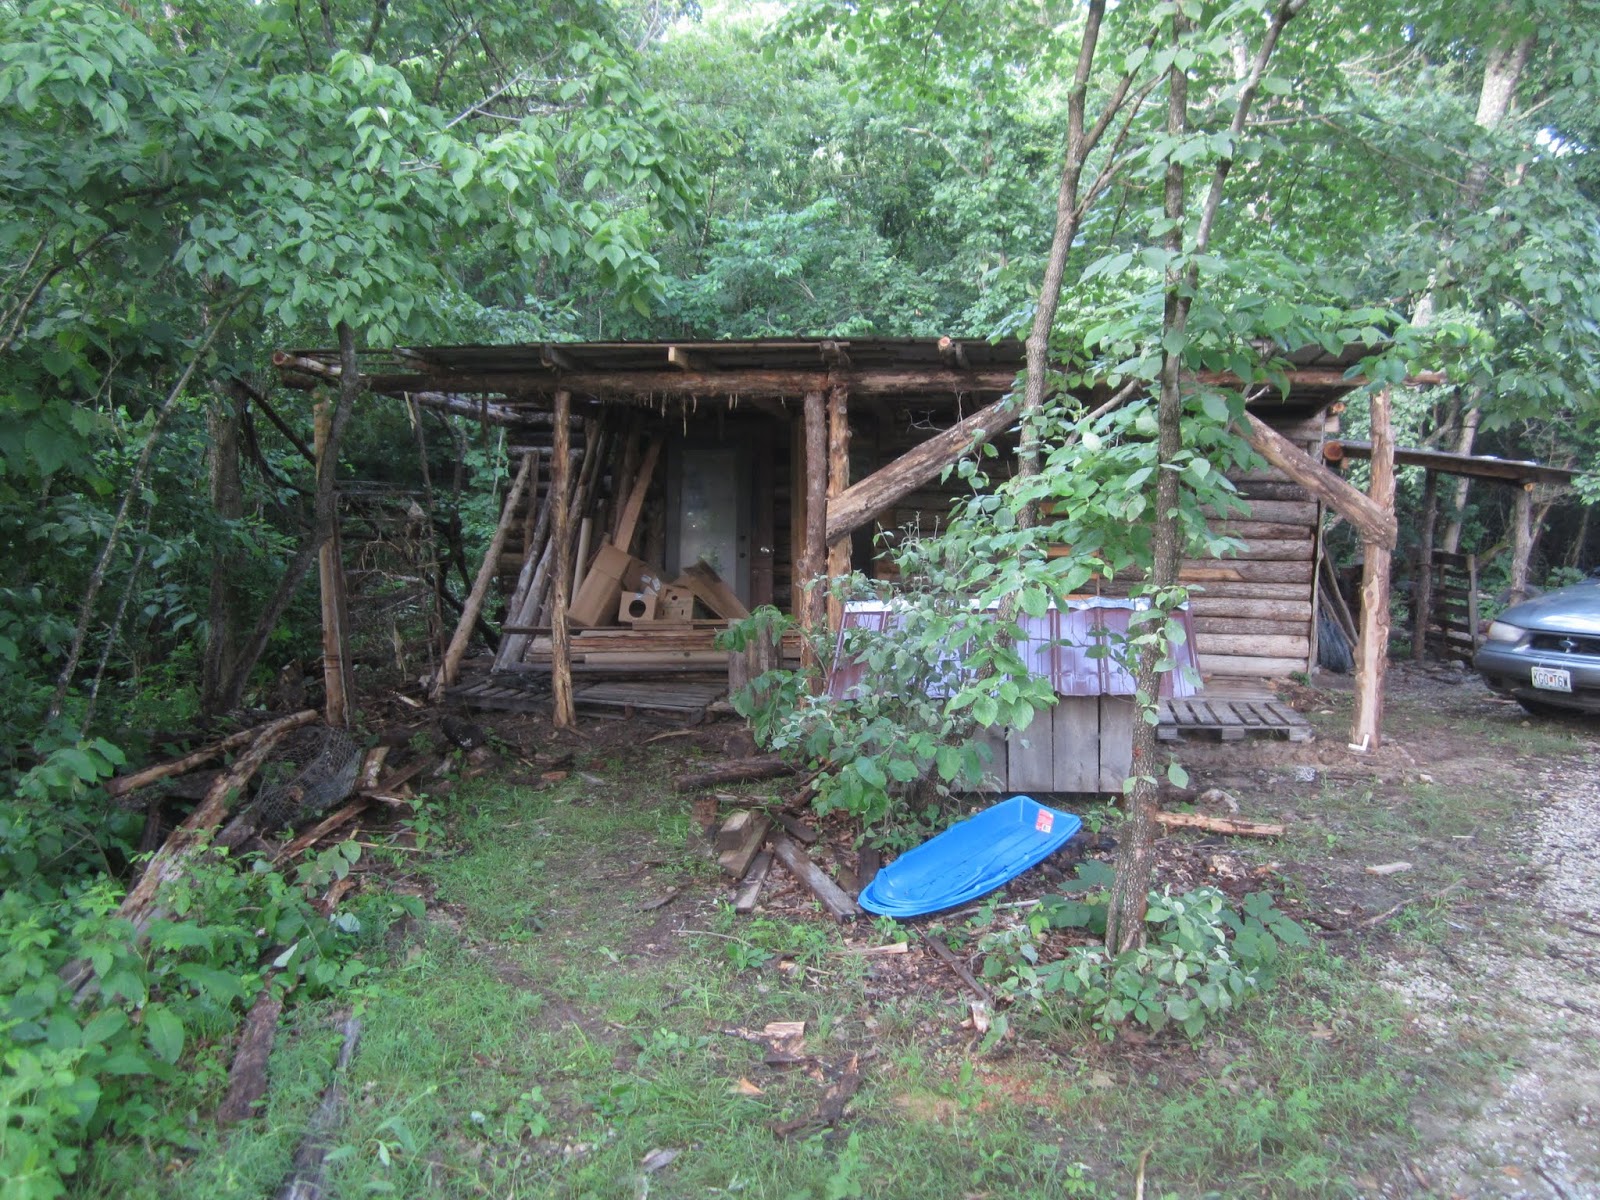
 |
| Here is the shed without the front porch. |
 |
| This is the shed we tore down and transported |
 |
| I set the posts on raised concrete bases. Here I am using some left over cedar poles for diagonal stabilizers. This also makes a handy place to rest the heavy beams as we raise them bit by bit. |
 |
| First beam up. I like to choose one with a slight arch to take the downward stress. |
 |
| In the foreground is the shed roof intact that we tore off the old shed from another place. |
 |
| It was a job for my boy and myself to get up. |
 |
| We used posts underneath to prop it in stages. |
 |
| Then we manhandled it up and put the beam back in place. It was removed so we could swing the roof up |
|
| About done. I only need to buy 1 12 foot sheet of metal for the last panel. |
Our next post should feature our first plaster render approach. We are looking at using a compressor and gun with hopper to spit the slip layer onto the bales. My wife got burned out on the hand application method of the first layer because it involves massaging the clay into the bale... a slow process for a small work force.
 |
| Here are some samples of the slip layer tests we did. |
 |
| This is a method I am using where the bales are not quite snug enough. I ram a piece of 2x4 between the beam and bales and then screw it into place. It is amazing how a few extra inches of compression can make the wall really sturdy. I only had to do this on a few spots. Consider the fact that we had nothing specifically measured for bales when we built the post and beam frame because we were planning to use logs at that point. Because of this some of the spaces did not fit the bales in a snug enough compression. There are other ways around this....for instance cutting and re-tying bales. But after the straw had sat for a year I noticed I need to add more compression in a few spots. |
 |
| Here I am getting plastic between the bale and beam where it is really too snug to insert by hand. Using a piece of plywood and a mallet helped push it in. Then I was able to spread it length-wise to form a canopy over the bale. |
Subscribe to:
Comments (Atom)