The only time when playing in the mud does not get me in trouble with my wife!


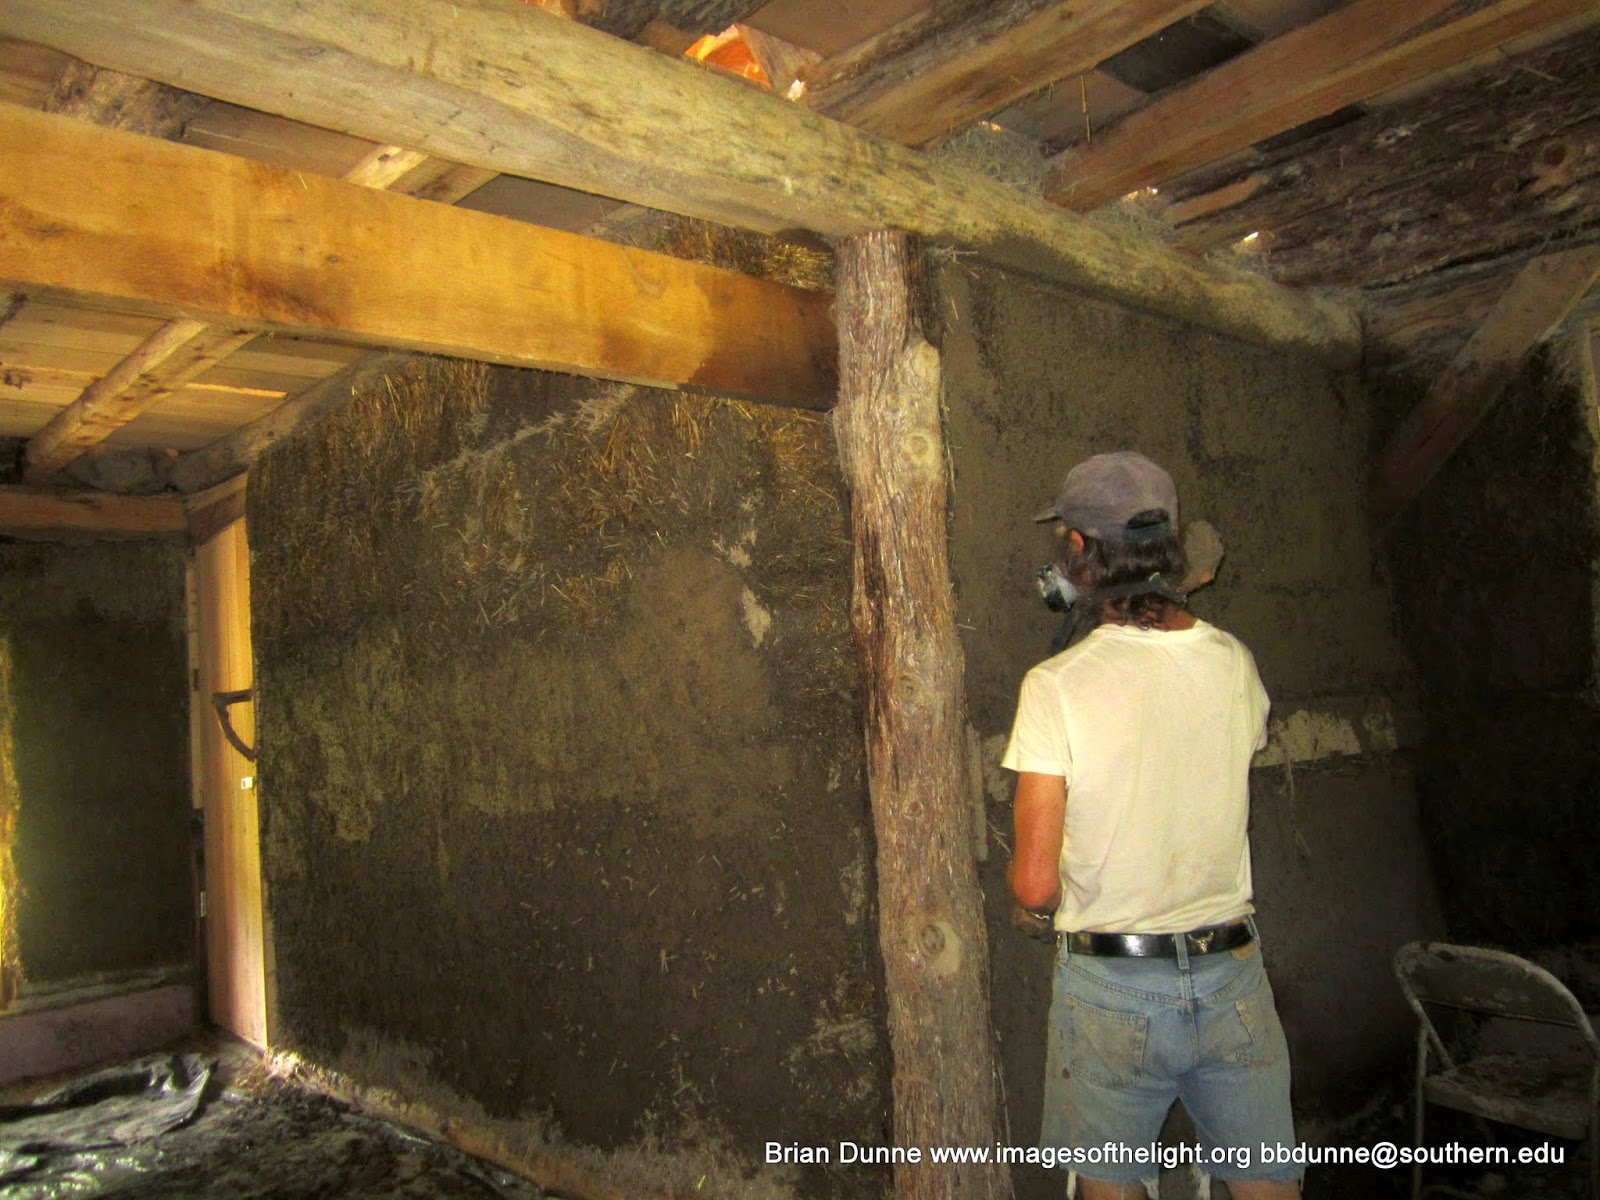
The whole album is here!
https://picasaweb.google.com/114884385502525009736/20140823

Straw Bale & Alternative Economy Building by the Dunne Family
 |
| I had to fill this strange gap between posts and here is how I did it. I made a mix of clay, sand and cut straw and then laid jars like brick. There will be a window that open above it (where the board is nailed over the opening). |
 |
| Light clay straw to plug holes over door. Not big enough for a bale! |
 |
| A 3 inch pipe and some jars make a need little day light bulb in my office wall. Add colors for fun. The hole above has an outdoor solar light thingy..it lights up in the dark and charges from the outside.. I call it "poor man solar". |

 |
| Here is my champion light clay straw mixer and cook...my daughter Emmi! |



 |
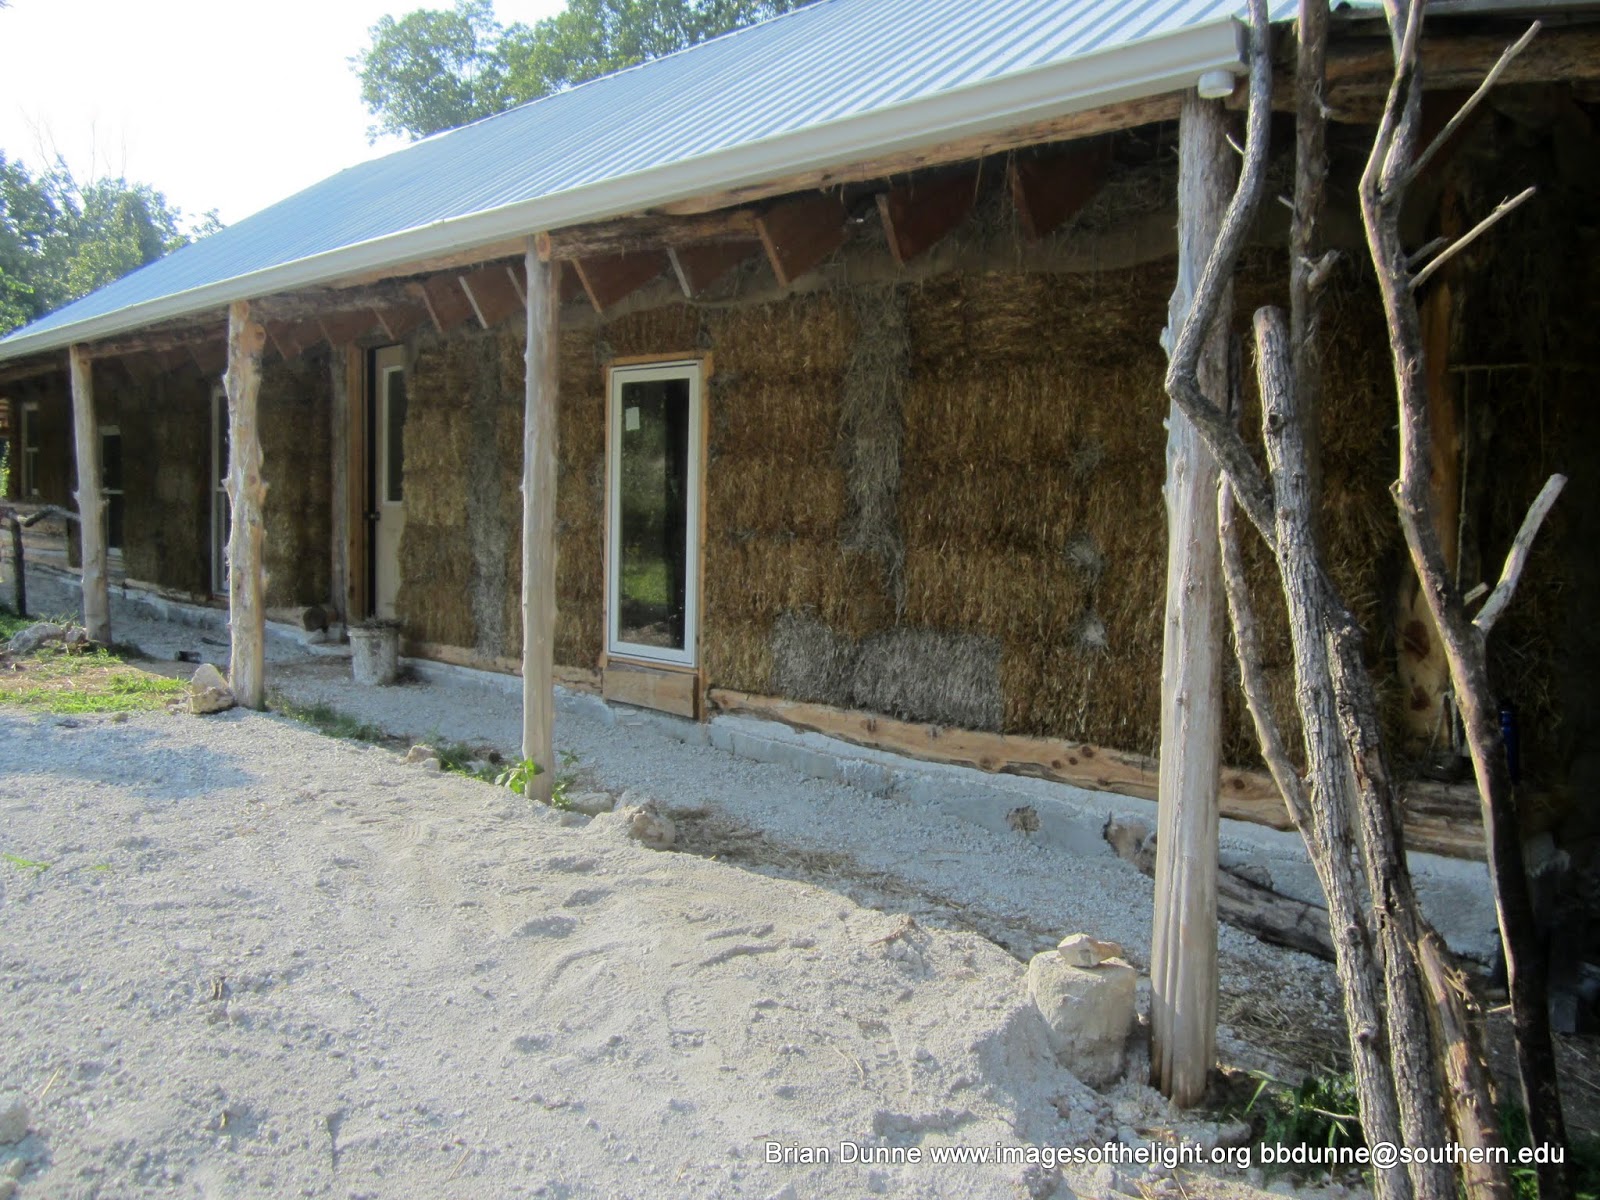
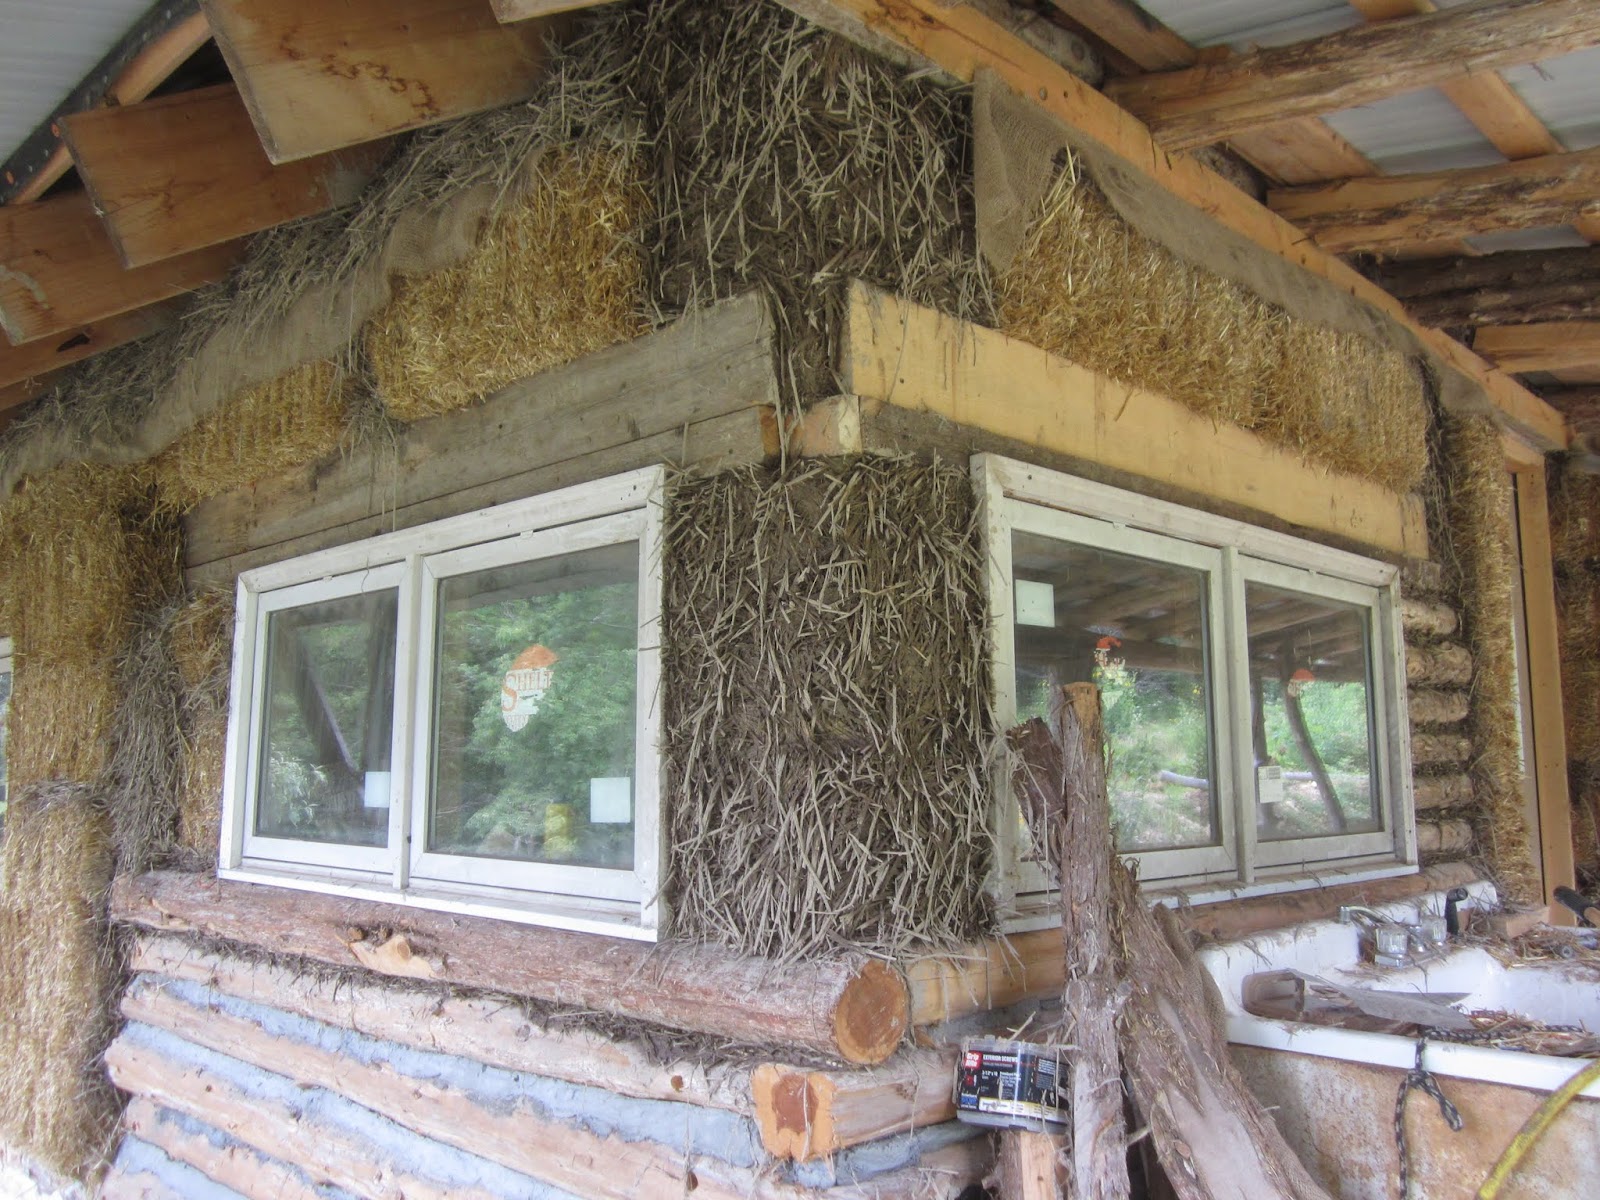
| Adding light clay straw to cover a post. Light clay straw is just straw mixed with clay I made this mix with more clay so that it would have more molding ability. I formed it into cylinder shaped, or log shaped lengths first, and then built the lengths in a stacking fashion. Note the burlap covering the post and window edges. This will allow for the wood to shrink without disturbing the clay. However I think the light clay straw would do okay even without it. It retains a certain flexible tolerance because of all the straw in it. |

 |
| You can see the stacking pattern if you look closely. |

 |
| We used the same light clay straw mix between the rafters. |

 |
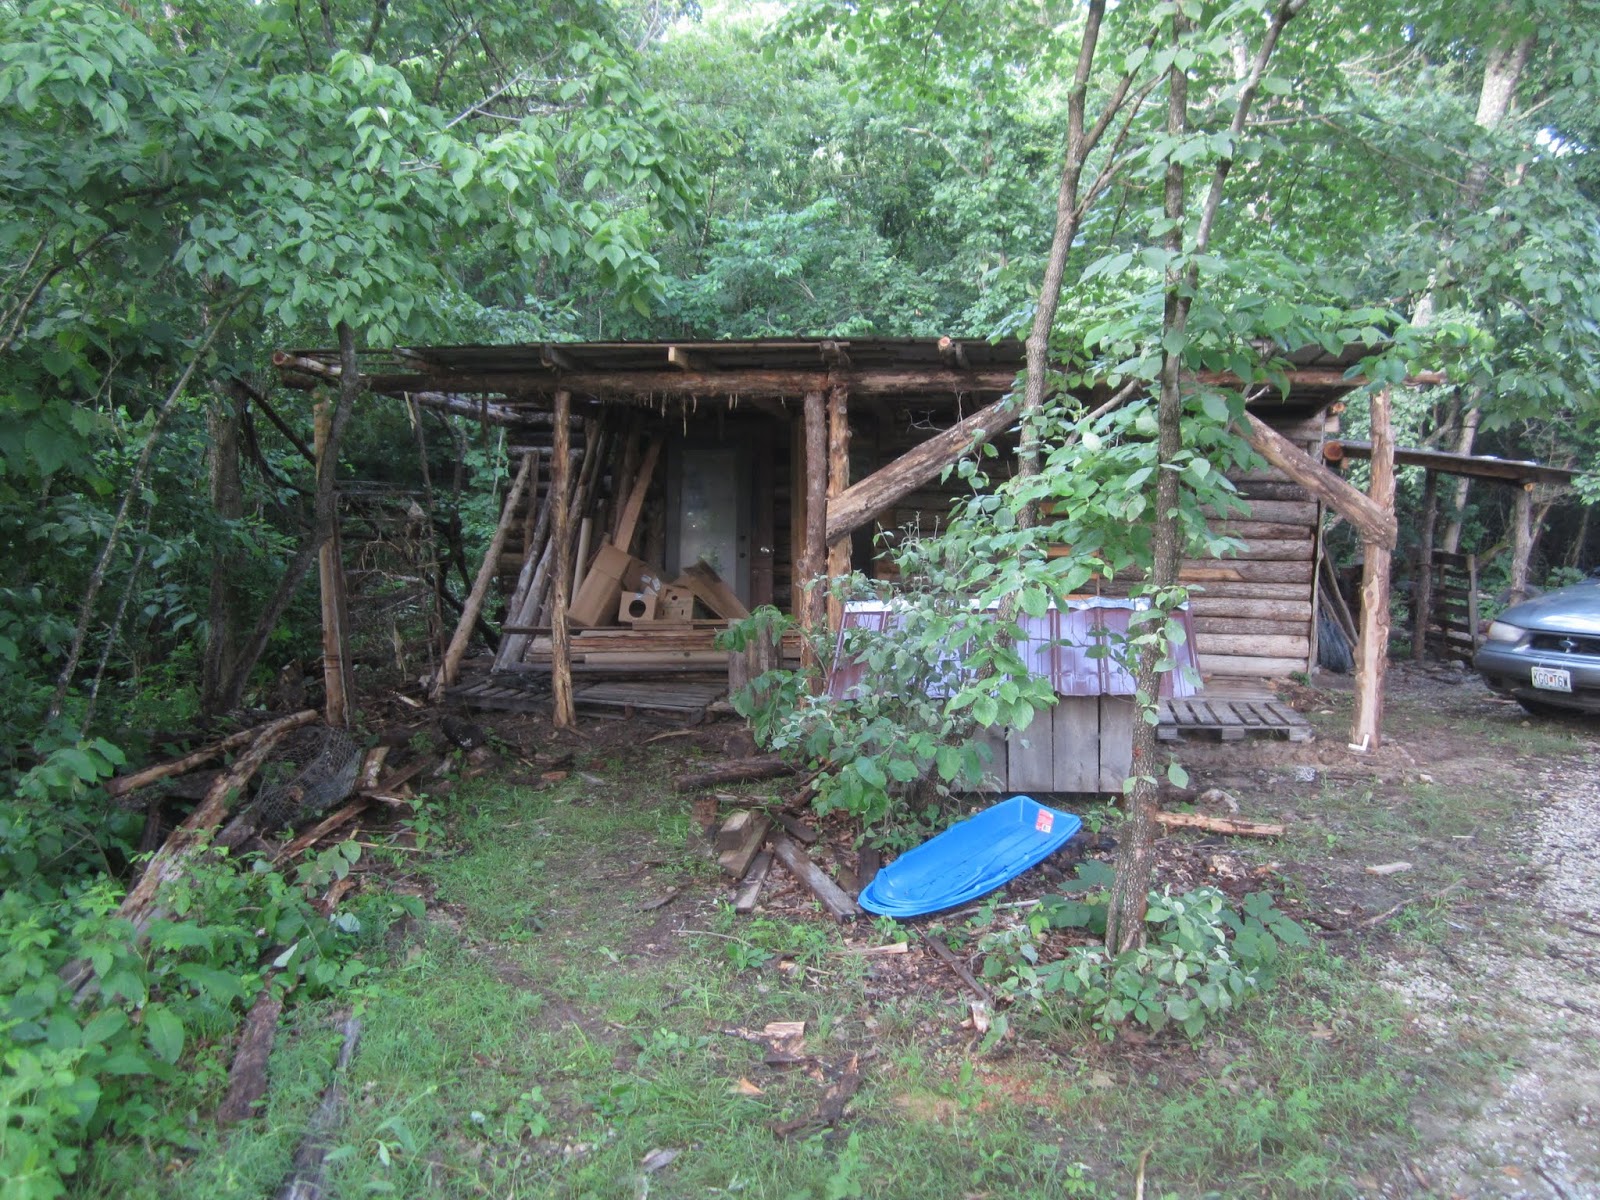
| Here is the shed without the front porch. |
 |
| This is the shed we tore down and transported |
 |
| I set the posts on raised concrete bases. Here I am using some left over cedar poles for diagonal stabilizers. This also makes a handy place to rest the heavy beams as we raise them bit by bit. |

 |
| First beam up. I like to choose one with a slight arch to take the downward stress. |
 |
| In the foreground is the shed roof intact that we tore off the old shed from another place. |
 |
| It was a job for my boy and myself to get up. |
 |
| We used posts underneath to prop it in stages. |


 |
| Then we manhandled it up and put the beam back in place. It was removed so we could swing the roof up |


|
| About done. I only need to buy 1 12 foot sheet of metal for the last panel. |
 |
| Here are some samples of the slip layer tests we did. |
 |
| This is a method I am using where the bales are not quite snug enough. I ram a piece of 2x4 between the beam and bales and then screw it into place. It is amazing how a few extra inches of compression can make the wall really sturdy. I only had to do this on a few spots. Consider the fact that we had nothing specifically measured for bales when we built the post and beam frame because we were planning to use logs at that point. Because of this some of the spaces did not fit the bales in a snug enough compression. There are other ways around this....for instance cutting and re-tying bales. But after the straw had sat for a year I noticed I need to add more compression in a few spots. |
 |
| Here I am getting plastic between the bale and beam where it is really too snug to insert by hand. Using a piece of plywood and a mallet helped push it in. Then I was able to spread it length-wise to form a canopy over the bale. |

